Normally making scalloped edges requires mat sets that sell for a minimum of $20 and you only get a few sizes. Now I have access to scallops in squares, rectangles, ovals, circles, as well as the traditional scallop-less shapes, and a myriad of label designs, as well as doilies, scalloped borders, three different Christmas ornaments, two Christmas trees, two snowflakes, two hearts, two stars, a fleur de lis, a damask pattern, a few scrolls, flowers both flat and dimensional, banners in various patterns, most with overlays, and more, all available for me between 1 inches and 5 inches. And with the Expressions, all the way up to 23 inches.
I was in the mood for bright and cheery papers, so all of these projects reflect that. I found it makes card-making simple and fast yet polished, because everything is perfectly straight and even. And, did I mention how fast this is? Always love that!
 Here the daisy is cut first on white, where I sponged pink ink in the center, then cut a yellow overlay and sponged a little pink ink on the edges, glued it on top of the white, cut a pink scalloped edge and laid that over the green background. I added a bright pink rhinestone to the center, stamped in coordinating ink, and there it is. . . . Easy!
 This cupcake was super easy and almost looks good enough to eat! Creamy background (I was thinking vanilla frosting), bright green overlay, glue it on top, and add tiny brown opaque pearls (thinking chocolate chips.) Doesn't get much faster than that. Didn't even stamp here.
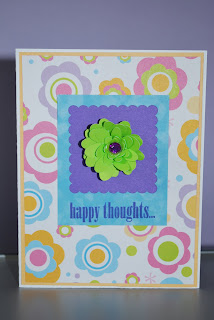 Here, playing more with the scalloped edge, this time no center cut out of it. The flower is cut flat, then you roll it up starting with the outside edge. When its done, it looks like a flower. You put a dot of liquid glass on the base, hold it in place about a minute, and its done. I also added a purple rhinestone. Clearly I was in a blingy, bright mood, stamped a sentiment across the top and inside, where it reads, "coming your way." Delivered that today to my visiting teaching sister. Fun, cute, easy. Love that too! Remember to double click on the pictures if you want to see them better. Its hard to make 3-D flowers look as good as they do in real life in 2-D but I tried.
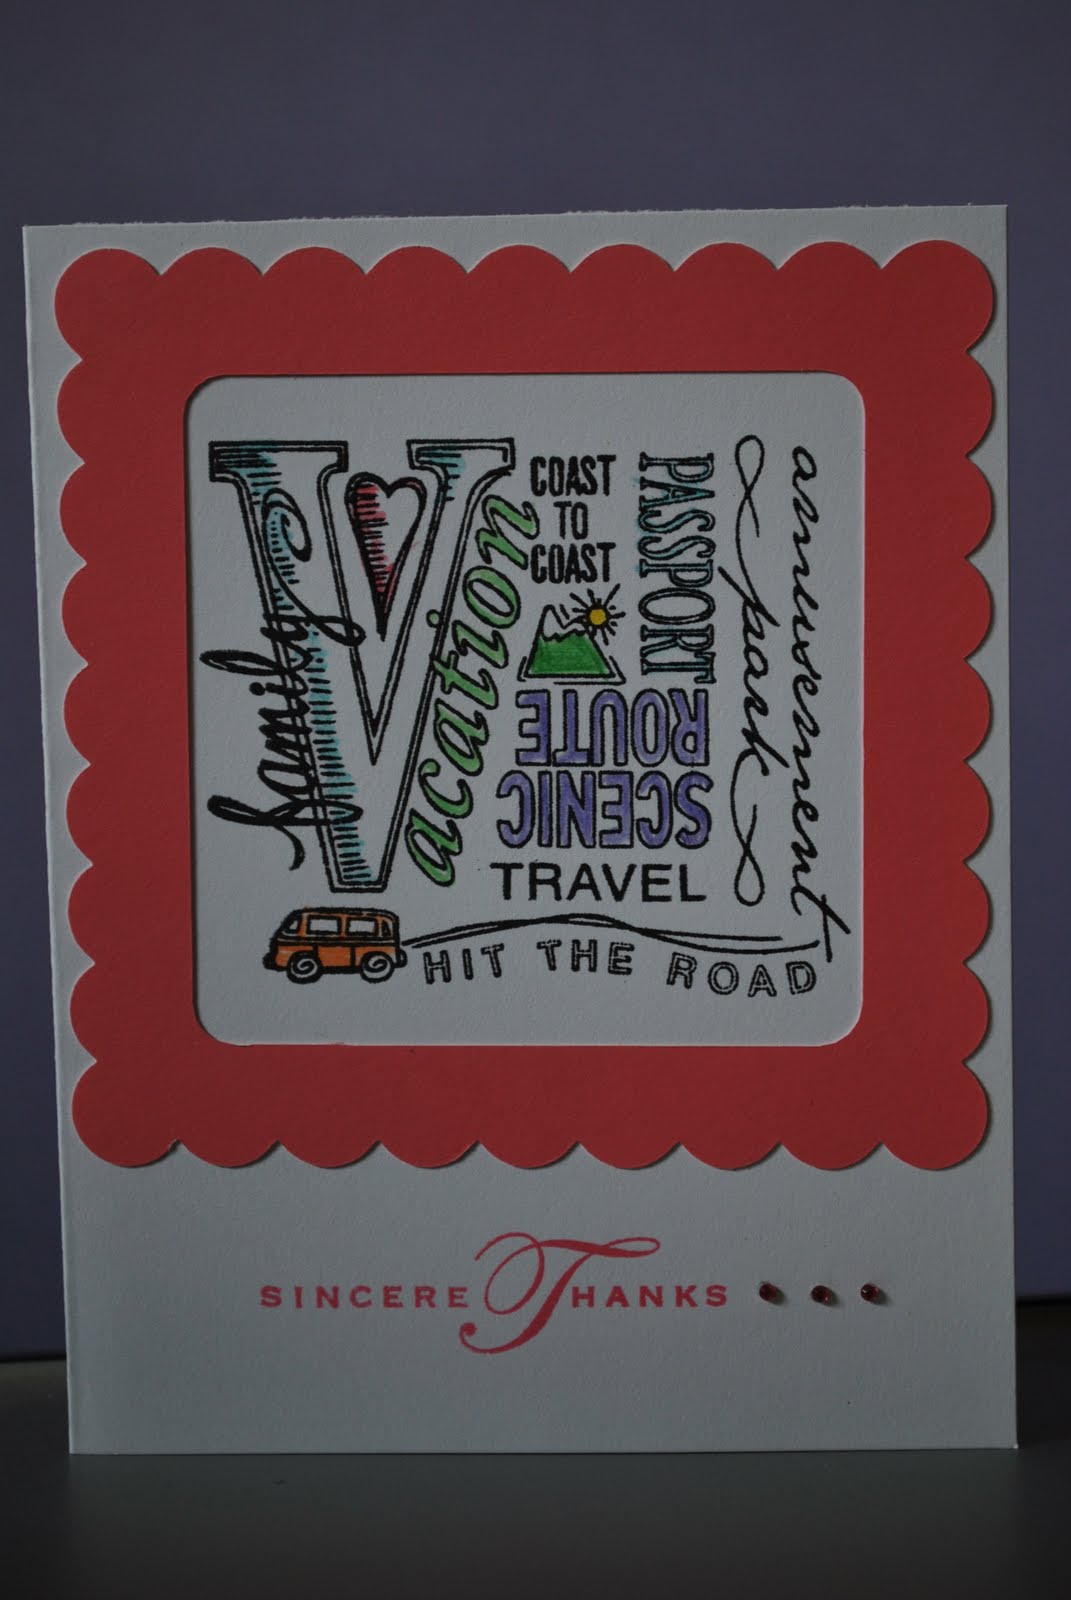
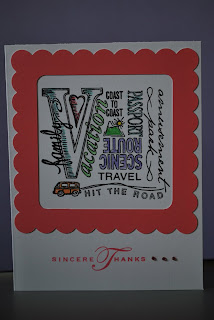 Last but not least, so very happy to be playing with the scalloped border in lots of colors and sizes, and wanted to fill the center with a stamp. I found this one which fit perfectly and was just what I needed for a thank you card. Used tiny rhinestones for an accent, colored the designs in colored pencils, and again, fast, easy, and the border really sets it off, better than just a plain square mat.
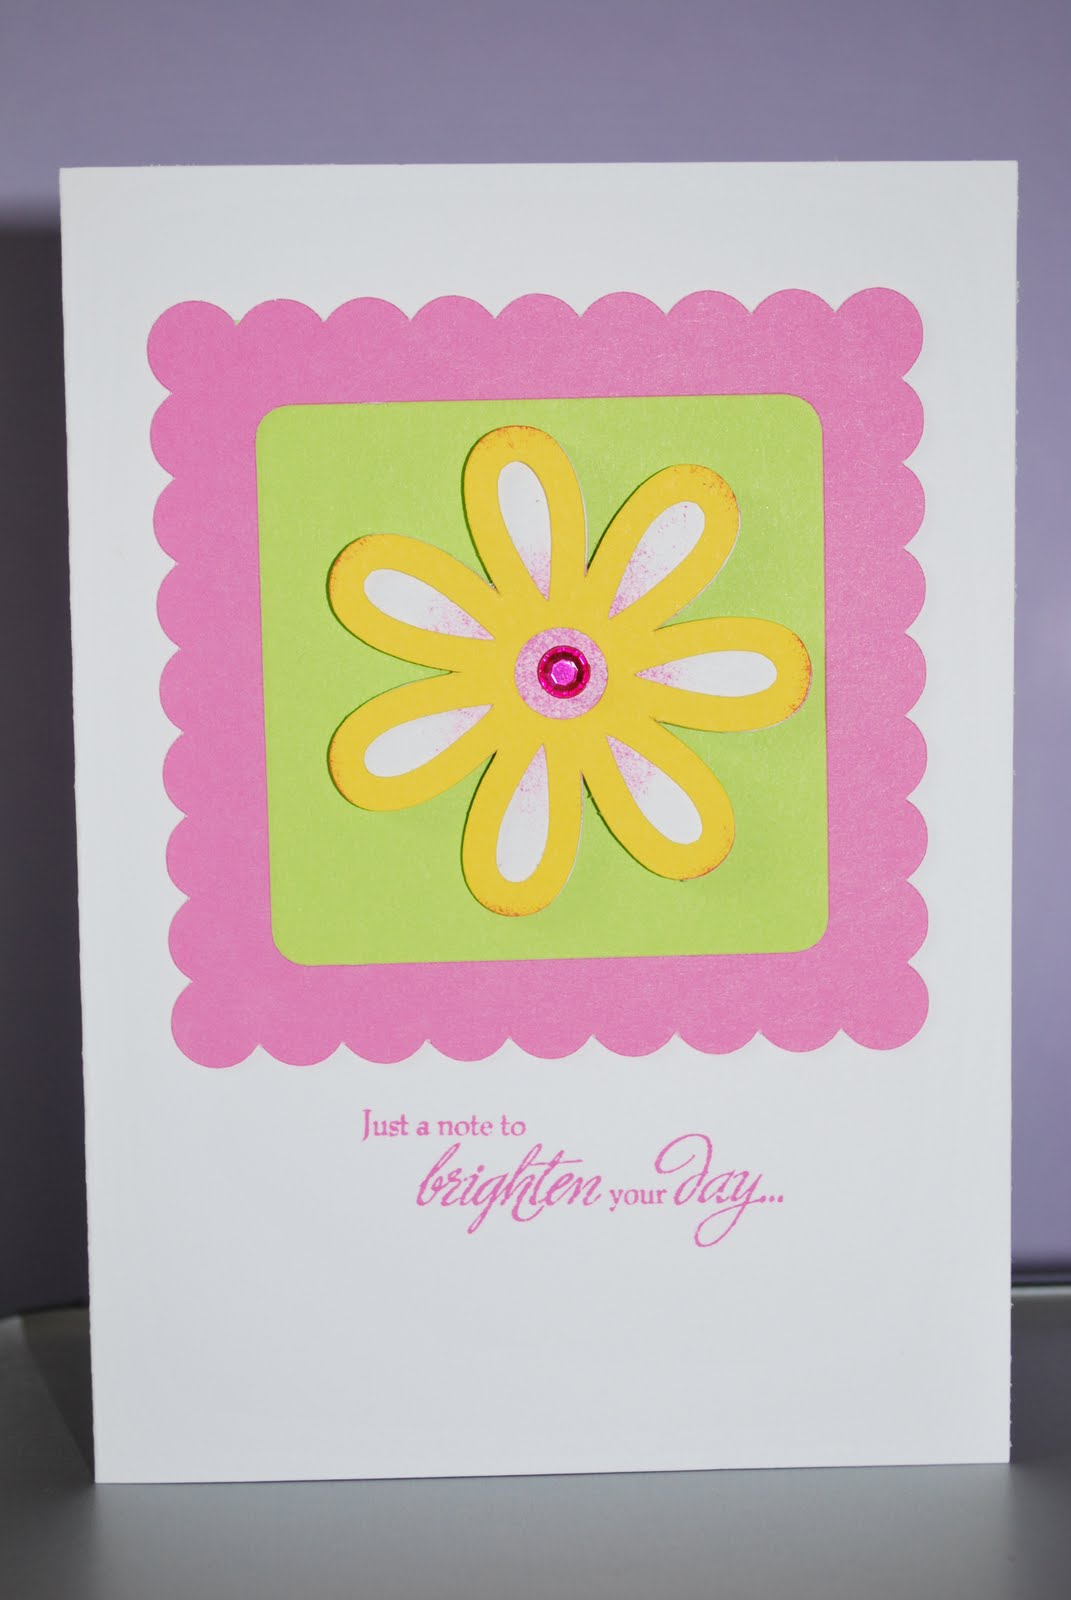 Here the daisy is cut first on white, where I sponged pink ink in the center, then cut a yellow overlay and sponged a little pink ink on the edges, glued it on top of the white, cut a pink scalloped edge and laid that over the green background. I added a bright pink rhinestone to the center, stamped in coordinating ink, and there it is. . . . Easy!
 This cupcake was super easy and almost looks good enough to eat! Creamy background (I was thinking vanilla frosting), bright green overlay, glue it on top, and add tiny brown opaque pearls (thinking chocolate chips.) Doesn't get much faster than that. Didn't even stamp here.
 Here, playing more with the scalloped edge, this time no center cut out of it. The flower is cut flat, then you roll it up starting with the outside edge. When its done, it looks like a flower. You put a dot of liquid glass on the base, hold it in place about a minute, and its done. I also added a purple rhinestone. Clearly I was in a blingy, bright mood, stamped a sentiment across the top and inside, where it reads, "coming your way." Delivered that today to my visiting teaching sister. Fun, cute, easy. Love that too! Remember to double click on the pictures if you want to see them better. Its hard to make 3-D flowers look as good as they do in real life in 2-D but I tried.
 Last but not least, so very happy to be playing with the scalloped border in lots of colors and sizes, and wanted to fill the center with a stamp. I found this one which fit perfectly and was just what I needed for a thank you card. Used tiny rhinestones for an accent, colored the designs in colored pencils, and again, fast, easy, and the border really sets it off, better than just a plain square mat.
 Now I'm working on a layout that I'll have to take a picture of soon. The Cricut is staying out on my craft table. I keep finding new ways to use it. I love the coordinating fonts too. If you want to take a look at how stamping and the cricut work together, here is a video put out by CTMH. They just ramped up creativity to a new level for me, and I'm loving it.
No comments:
Post a Comment